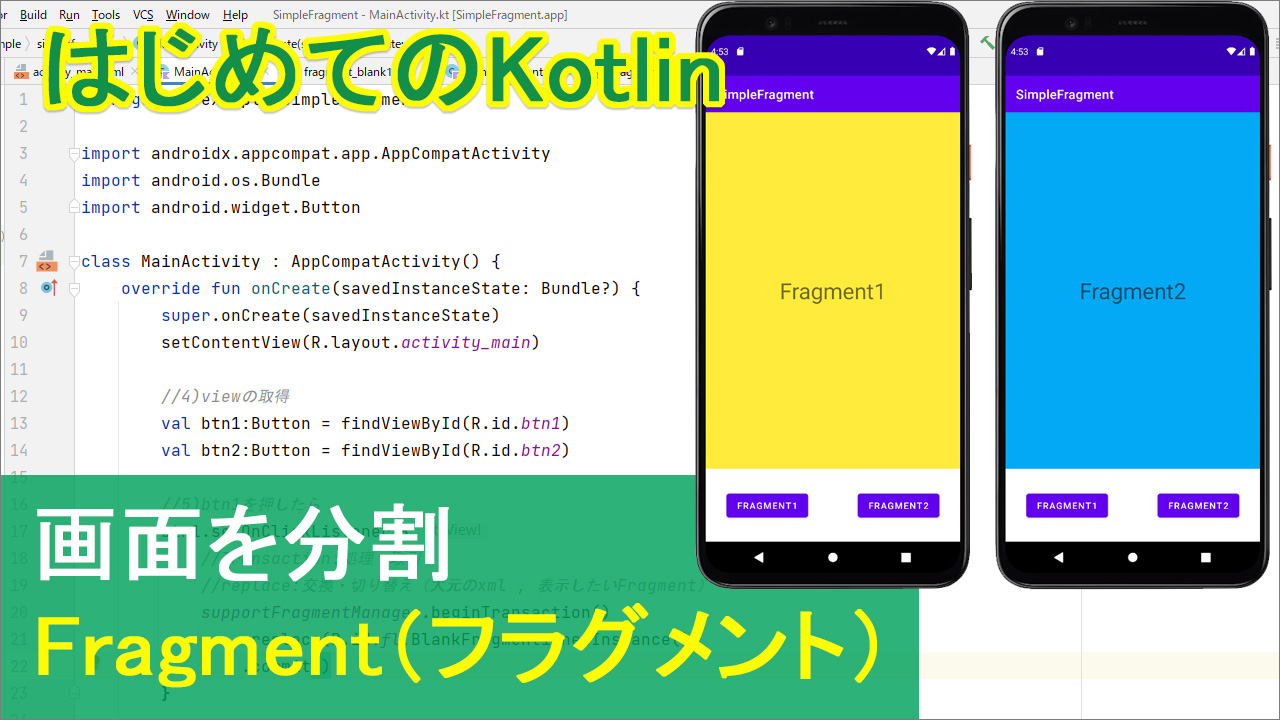
kotlinで、画面を分割して表示するFragmentの方法について解説します。
(次回、「FragmentContainerView」を使って全く同じアプリを解説)
動画
目次
| タイトル | 再生時間 |
| 概要 | 01:15~ |
| [01]Main xml | 10:15~ |
| [02]Fragment1 | 19:05~ |
| [03]Fragment2 | 10:35~ |
| [04]Viewを取得 | 23:45~ |
| [05]btn1を押したらFragment1 | 25:15~ |
| [06]btn2を押したらFragment2 | 28:50~ |
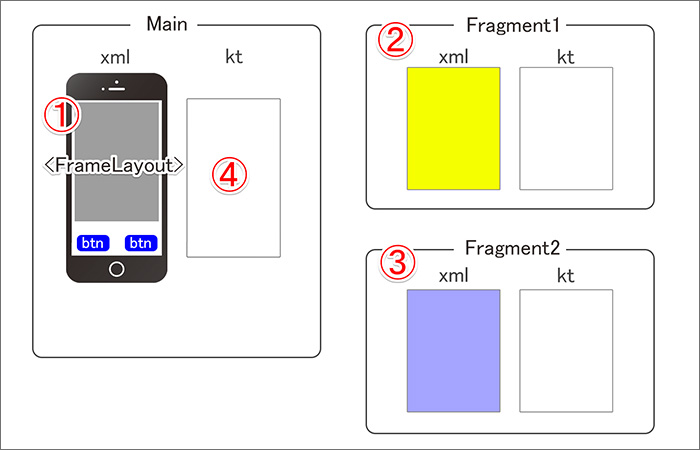
主な手順の流れ↓
コード
▼activity_main.xml
<?xml version="1.0" encoding="utf-8"?>
<androidx.constraintlayout.widget.ConstraintLayout xmlns:android="http://schemas.android.com/apk/res/android"
    xmlns:app="http://schemas.android.com/apk/res-auto"
    xmlns:tools="http://schemas.android.com/tools"
    android:layout_width="match_parent"
    android:layout_height="match_parent"
    tools:context=".MainActivity">


    <FrameLayout
        android:id="@+id/fl"
        android:layout_width="match_parent"
        android:layout_height="550dp"
        app:layout_constraintTop_toTopOf="parent"
        tools:layout_editor_absoluteX="1dp">

    </FrameLayout>

    <Button
        android:id="@+id/btn1"
        android:layout_width="wrap_content"
        android:layout_height="wrap_content"
        android:layout_marginStart="32dp"
        android:layout_marginBottom="32dp"
        android:text="Fragment1"
        app:layout_constraintBottom_toBottomOf="parent"
        app:layout_constraintStart_toStartOf="parent" />

    <Button
        android:id="@+id/btn2"
        android:layout_width="wrap_content"
        android:layout_height="wrap_content"
        android:layout_marginEnd="32dp"
        android:layout_marginBottom="32dp"
        android:text="Fragment2"
        app:layout_constraintBottom_toBottomOf="parent"
        app:layout_constraintEnd_toEndOf="parent" />


</androidx.constraintlayout.widget.ConstraintLayout>
▼MainActivity.kt
package com.example.simplefragment

import androidx.appcompat.app.AppCompatActivity
import android.os.Bundle
import android.widget.Button

class MainActivity : AppCompatActivity() {
    override fun onCreate(savedInstanceState: Bundle?) {
        super.onCreate(savedInstanceState)
        setContentView(R.layout.activity_main)

        //4)viewの取得
        val btn1:Button = findViewById(R.id.btn1)
        val btn2:Button = findViewById(R.id.btn2)

        //5)btn1を押したら
        btn1.setOnClickListener {
            //Transaction:処理・取引
            //replace:交換・切り替え(大元のxml , 表示したいFragment)
            supportFragmentManager.beginTransaction()
                .replace(R.id.fl,BlankFragment1.newInstance())
                .commit()
        }

        //6)btn2を押したら
        btn2.setOnClickListener {
            supportFragmentManager.beginTransaction()
                .replace(R.id.fl,BlankFragment2.newInstance())
                .commit()
        }
    }
}
▼fragment_blank1.xml
<?xml version="1.0" encoding="utf-8"?>
<androidx.constraintlayout.widget.ConstraintLayout xmlns:android="http://schemas.android.com/apk/res/android"
    xmlns:app="http://schemas.android.com/apk/res-auto"
    xmlns:tools="http://schemas.android.com/tools"
    android:layout_width="match_parent"
    android:layout_height="match_parent"
    android:background="#FFEB3B"
    tools:context=".BlankFragment1">


    <TextView
        android:id="@+id/textView"
        android:layout_width="wrap_content"
        android:layout_height="wrap_content"
        android:text="Fragment1"
        android:textSize="34sp"
        app:layout_constraintBottom_toBottomOf="parent"
        app:layout_constraintEnd_toEndOf="parent"
        app:layout_constraintStart_toStartOf="parent"
        app:layout_constraintTop_toTopOf="parent" />

    <TextView
        android:id="@+id/textView3"
        android:layout_width="wrap_content"
        android:layout_height="wrap_content"
        android:layout_marginBottom="32dp"
        android:text="TextView"
        app:layout_constraintBottom_toBottomOf="parent"
        app:layout_constraintEnd_toEndOf="parent"
        app:layout_constraintStart_toStartOf="parent" />
</androidx.constraintlayout.widget.ConstraintLayout>
▼BlankFragment1.kt
package com.example.simplefragment

import android.os.Bundle
import androidx.fragment.app.Fragment
import android.view.LayoutInflater
import android.view.View
import android.view.ViewGroup


class BlankFragment1 : Fragment() {

    override fun onCreateView(
        inflater: LayoutInflater, container: ViewGroup?,
        savedInstanceState: Bundle?
    ): View? {
        // Inflate the layout for this fragment
        return inflater.inflate(R.layout.fragment_blank1, container, false)
    }

    companion object {

        @JvmStatic
        fun newInstance() = BlankFragment1()
    }
}
▼fragment_blank2.xml
<?xml version="1.0" encoding="utf-8"?>
<androidx.constraintlayout.widget.ConstraintLayout xmlns:android="http://schemas.android.com/apk/res/android"
    xmlns:app="http://schemas.android.com/apk/res-auto"
    xmlns:tools="http://schemas.android.com/tools"
    android:layout_width="match_parent"
    android:layout_height="match_parent"
    android:background="#03A9F4"
    tools:context=".BlankFragment2">


    <TextView
        android:id="@+id/textView2"
        android:layout_width="wrap_content"
        android:layout_height="wrap_content"
        android:text="Fragment2"
        android:textSize="34sp"
        app:layout_constraintBottom_toBottomOf="parent"
        app:layout_constraintEnd_toEndOf="parent"
        app:layout_constraintStart_toStartOf="parent"
        app:layout_constraintTop_toTopOf="parent" />
</androidx.constraintlayout.widget.ConstraintLayout>
▼BlankFragment2.kt
package com.example.simplefragment

import android.os.Bundle
import androidx.fragment.app.Fragment
import android.view.LayoutInflater
import android.view.View
import android.view.ViewGroup

class BlankFragment2 : Fragment() {

    override fun onCreateView(
        inflater: LayoutInflater, container: ViewGroup?,
        savedInstanceState: Bundle?
    ): View? {
        // Inflate the layout for this fragment
        return inflater.inflate(R.layout.fragment_blank2, container, false)
    }

    companion object {

        @JvmStatic
        fun newInstance() = BlankFragment2()
    }
}
テキスト
それでは、実際の作業の前に、今回の概要とか、そもそもFragment(フラグメント)って何ぞや?てあたりを説明したいと思います。日本語に訳すと「断片」とか「かけら」っていう意味だそうです。なので、画面を各パーツに切り分けて表示する仕組みだと思ってください。
こうすることで、何がいいかというと、必要なときに、必要な画面だけ呼び出せるので、画面が色んなところで使いまわしというか、再利用できたりするので便利ですよねって話です。そんなこんなで、今回の作業内容の全貌がこちらになります。
①まずメインのレイアウト、Main xmlの方を作って、
②次に1つ目の画面用のフラグメント1っていうのを作って
③で、もう1つの画面、フラグメント2っていうのを作って
④最後にmain ktで、ボタンを押した時にそれらが呼び出されて表示される、という風にしていきます。
[01]Main xml
上記コード「activity_main.xml」ご参照
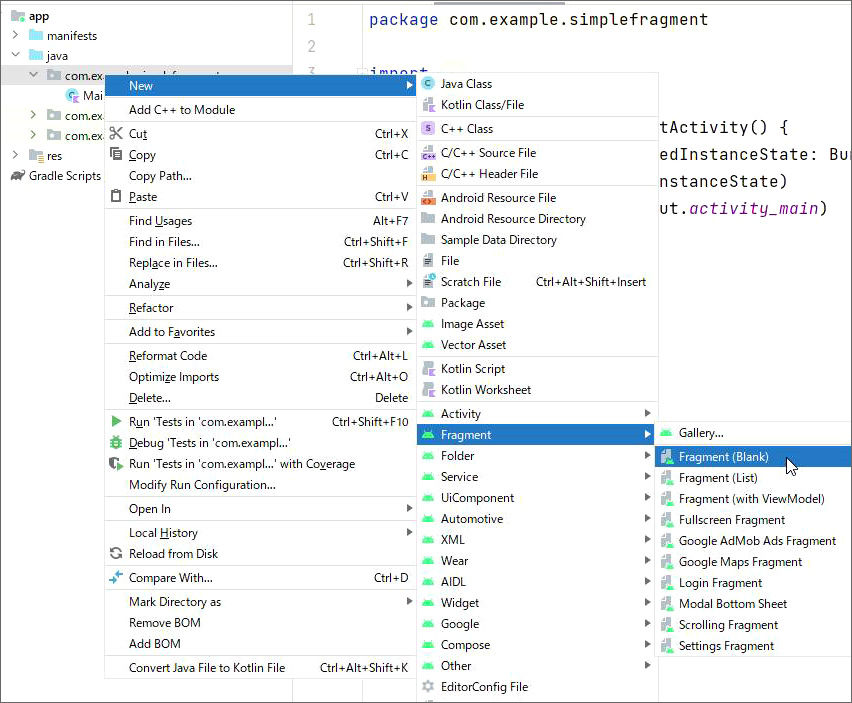
[02]Fragment1
パッケージを右クリック⇒new⇒Fragment⇒で、Blank を選択して作成
上記コード
「fragment_blank1.xml」
「BlankFragment1.kt」ご参照
[03]Fragment2
パッケージを右クリック⇒new⇒Fragment⇒で、Blank を選択して作成
上記コード
「fragment_blank2.xml」
「BlankFragment2.kt」ご参照
[04-05-06]
上記コード
MainActivity.ktの「4)」「5)」「6)」を記述。
ここのポイントは、「ボタンを押したら~」の「setOnClickListener」の中が、このような定型文になるということです。
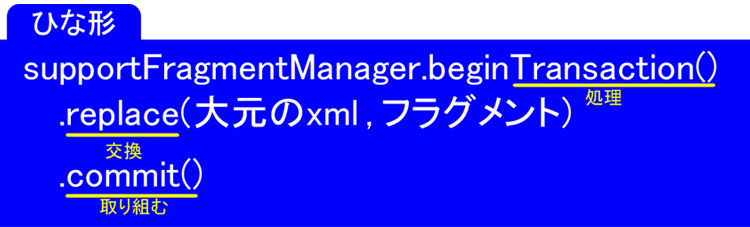
replace()内の1つ目の引数は、大元のxmlのid
第2引数は、フラグメントで表示するクラス。
ちなみに動画では
BlankFragment1.newInstance()
という記述をしたけど、「.newInstance()」ではなく「()」つまり
.replace(R.id.fl,BlankFragment1())
という記述でも大丈夫です。興味のあるかたはやってみてください。
【参考】
Fragment || Android Studio || Kotlin || #32
Fragments Implementation using Kotlin || Fragments using Kotlin || Android Studio Tutorial || 2021