前回、RecyclerViewでリストを表示するところまでできました。
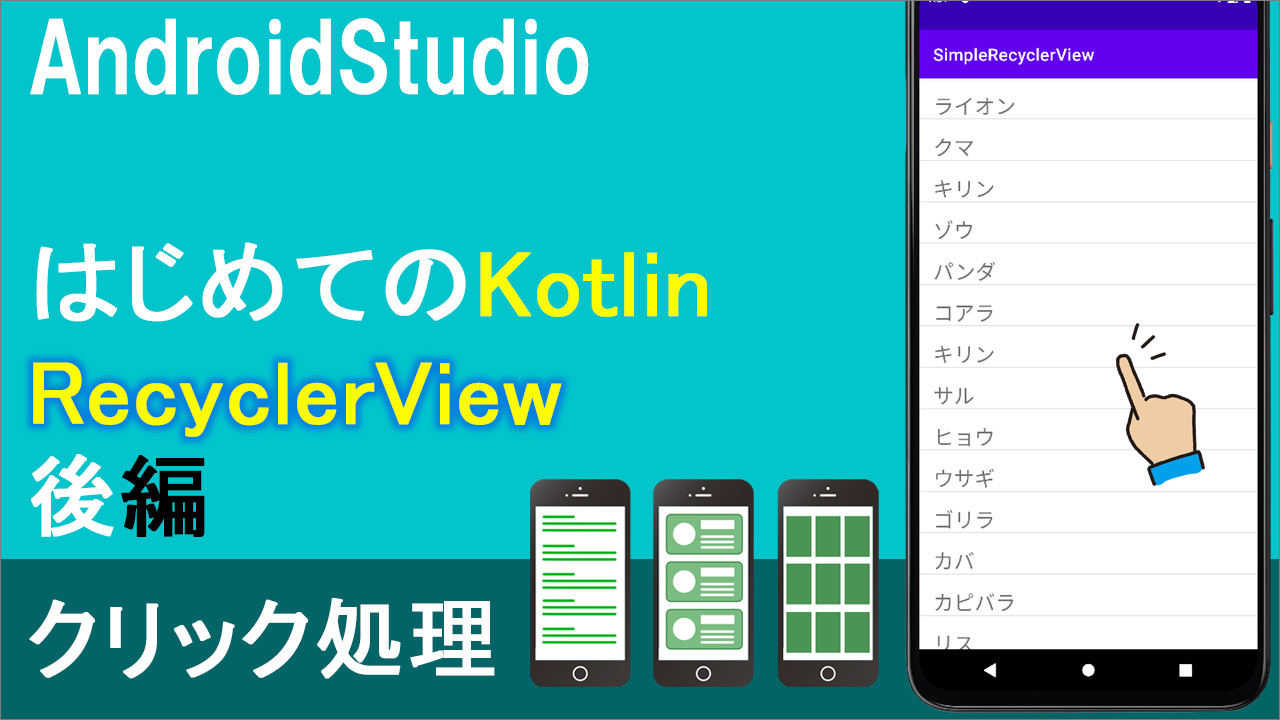
今回はその後編です。リストをタッチしたら、クリック処理でトーストを表示させてみたいと思います。
▼動画
コード
▼activity_main.xml(前回と同じ)
<?xml version="1.0" encoding="utf-8"?>
<androidx.constraintlayout.widget.ConstraintLayout xmlns:android="http://schemas.android.com/apk/res/android"
    xmlns:app="http://schemas.android.com/apk/res-auto"
    xmlns:tools="http://schemas.android.com/tools"
    android:layout_width="match_parent"
    android:layout_height="match_parent"
    tools:context=".MainActivity">

    <androidx.recyclerview.widget.RecyclerView
        android:id="@+id/rv"
        android:layout_width="match_parent"
        android:layout_height="match_parent"
        tools:layout_editor_absoluteX="1dp"
        tools:layout_editor_absoluteY="1dp" />

</androidx.constraintlayout.widget.ConstraintLayout>
▼one_layout.xml(前回と同じ)
<?xml version="1.0" encoding="utf-8"?>
<androidx.constraintlayout.widget.ConstraintLayout xmlns:android="http://schemas.android.com/apk/res/android"
    xmlns:app="http://schemas.android.com/apk/res-auto"
    xmlns:tools="http://schemas.android.com/tools"
    android:layout_width="match_parent"
    android:layout_height="wrap_content">

    <TextView
        android:id="@+id/tv"
        android:layout_width="match_parent"
        android:layout_height="wrap_content"
        android:layout_marginStart="16dp"
        android:layout_marginTop="16dp"
        android:text="TextView"
        android:textSize="24sp"
        app:layout_constraintStart_toStartOf="parent"
        app:layout_constraintTop_toTopOf="parent" />

    <View
        android:id="@+id/divider"
        android:layout_width="match_parent"
        android:layout_height="1dp"
        android:background="?android:attr/listDivider"
        app:layout_constraintBottom_toBottomOf="@+id/tv" />
</androidx.constraintlayout.widget.ConstraintLayout>
▼ViewHolderItem.kt
package com.example.simplerecyclerview

import android.view.View
import android.widget.TextView
import android.widget.Toast
import androidx.recyclerview.widget.RecyclerView

class ViewHolderItem(itemView:View) :RecyclerView.ViewHolder(itemView){
    //View(xml)の方から、指定のidを見つけてくる(ここではtv)
    val itemName:TextView =itemView.findViewById(R.id.tv)

    //9)クリック処理(1行分の画面(view)が押されたら~)
    private val recyclerAdapter = RecyclerAdapter()
    private val animalList = recyclerAdapter.animalList

    init {
        itemView.setOnClickListener {
            val position:Int = adapterPosition

            Toast.makeText(itemView.context,animalList[position],Toast.LENGTH_SHORT).show()
        }
    }

}
▼RecyclerAdapter.kt
package com.example.simplerecyclerview

import android.view.LayoutInflater
import android.view.ViewGroup
import androidx.recyclerview.widget.RecyclerView

class RecyclerAdapter :RecyclerView.Adapter<ViewHolderItem>(){
    //5)表示するリストを用意
    //private val animalList = listOf(
    //9)privateは消す
    val animalList = listOf(
        "ライオン","クマ","キリン","ゾウ","パンダ","コアラ","キリン","サル","ヒョウ","ウサギ",
        "ゴリラ","カバ","カピバラ","リス","ワニ","イルカ","ヒツジ","ネコ","ラッコ","カメ","クジラ"
    )

    //4)ここで1行分のレイアウト(View)を生成
    //(「2」と「3」を紐づける作業)
    override fun onCreateViewHolder(parent: ViewGroup, viewType: Int): ViewHolderItem {
        //「2」のレイアウトを取得(インフレート)
        val itemXml = LayoutInflater.from(parent.context)
            .inflate(R.layout.one_layout,parent,false)
        return ViewHolderItem(itemXml)
    }

    //5)position番目のデータをレイアウト(xml)に表示するようセット
    override fun onBindViewHolder(holder: ViewHolderItem, position: Int) {
        holder.itemName.text = animalList[position]

    }

    //6)データが何件あるかをカウントする
//    override fun getItemCount(): Int {
//        return animalList.size
//    }
    override fun getItemCount(): Int = animalList.size

}
▼MainActivity.kt(前回と同じ)
package com.example.simplerecyclerview

import androidx.appcompat.app.AppCompatActivity
import android.os.Bundle
import androidx.recyclerview.widget.LinearLayoutManager
import androidx.recyclerview.widget.RecyclerView

class MainActivity : AppCompatActivity() {
    //7)recyclerViewの変数を用意
    private lateinit var recyclerView:RecyclerView

    override fun onCreate(savedInstanceState: Bundle?) {
        super.onCreate(savedInstanceState)
        setContentView(R.layout.activity_main)

        //8)recyclerView表示の呪文
        recyclerView =findViewById(R.id.rv) //idの取得
        recyclerView.adapter = RecyclerAdapter() //アダプターをセット
        recyclerView.layoutManager = LinearLayoutManager(this) //各アイテムを縦に並べてください(見せ方の指示)

    }
}


