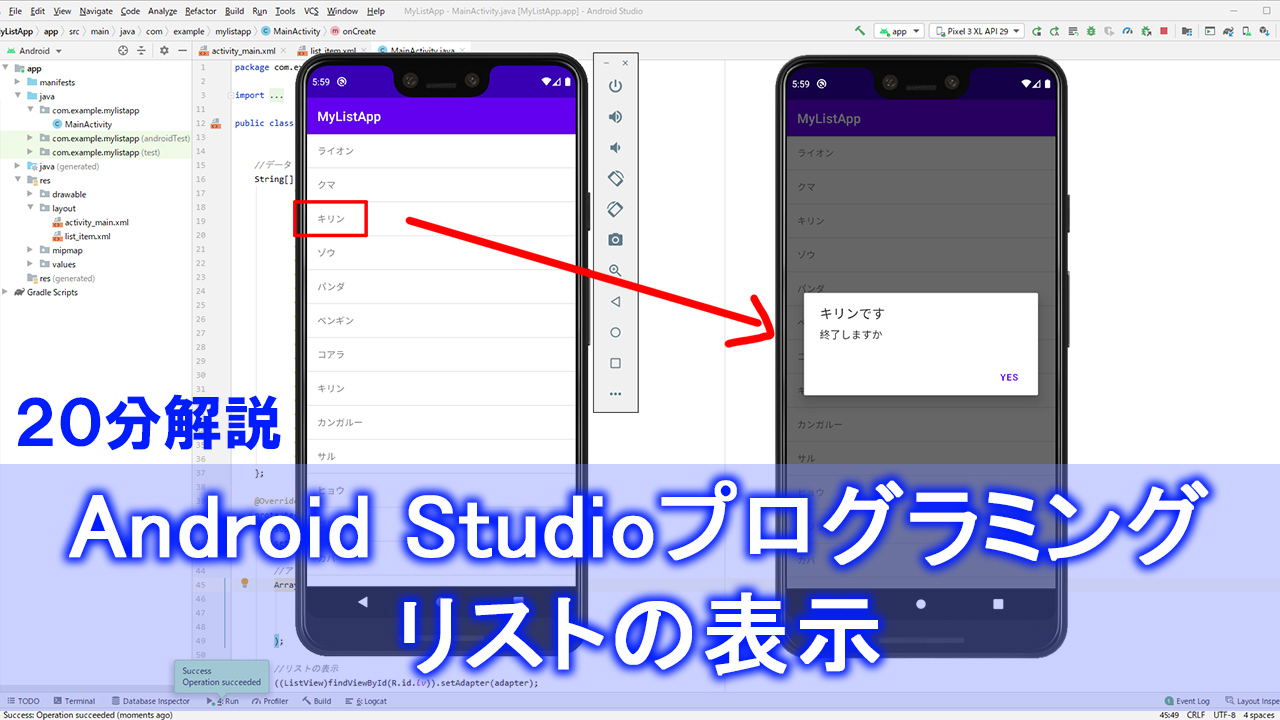
Android Studioを使って、リストの表示(ListView)について解説します。
ListViewは、メモ帳アプリとか、Todoアプリとか、色んなアプリに使用される汎用性が高いコードなので、是非頑張って覚えてみてください。
▼作業環境
OS:win10
言語:java
動画で解説
テキスト解説
▼activity_main.xml
<RelativeLayout xmlns:android="http://schemas.android.com/apk/res/android"
    xmlns:app="http://schemas.android.com/apk/res-auto"
    xmlns:tools="http://schemas.android.com/tools"
    android:layout_width="match_parent"
    android:layout_height="match_parent"
    tools:context=".MainActivity">


    <ListView
        android:id="@+id/lv"
        android:layout_width="match_parent"
        android:layout_height="match_parent" />
</RelativeLayout>
▼list_item.xml
<TextView xmlns:android="http://schemas.android.com/apk/res/android"
    android:layout_width="match_parent"
    android:layout_height="match_parent"
    android:padding="16dp">

</TextView>
▼MainActivity.java
import androidx.appcompat.app.AppCompatActivity;

import android.app.AlertDialog;
import android.os.Bundle;
import android.view.View;
import android.widget.AdapterView;
import android.widget.ArrayAdapter;
import android.widget.ListView;

public class MainActivity extends AppCompatActivity {


    //データ
    String[] str = {
            "ライオン",
            "クマ",
            "キリン",
            "ゾウ",
            "パンダ",
            "ペンギン",
            "コアラ",
            "キリン",
            "カンガルー",
            "サル",
            "ヒョウ",
            "ゴリラ",
            "カバ",
            "カピバラ",
            "リス",
            "チンパンジー",
            "ワニ",
            "ハムスター",
            "ヒツジ",
            "ネコ",
    };

    @Override
    protected void onCreate(Bundle savedInstanceState) {
        super.onCreate(savedInstanceState);
        setContentView(R.layout.activity_main);

        //アダプター
        ArrayAdapter adapter = new ArrayAdapter(
                this,
                R.layout.list_item,
                str
        );

        //リストの表示
        ((ListView)findViewById(R.id.lv)).setAdapter(adapter);

        //クリック処理
        ((ListView)findViewById(R.id.lv)).setOnItemClickListener(
                new AdapterView.OnItemClickListener() {
                    @Override
                    public void onItemClick(AdapterView<?> parent, View view, int position, long id) {
                        //クリックしたときのプログラムを書く
                        new AlertDialog.Builder(MainActivity.this)
                                .setTitle(str[position] + "です")
                                .setMessage("終了しますか")
                                .setPositiveButton("Yes",null)
                                .show();

                    }
                }
        );

    }
}
a