intentを使って
別の画面に遷移させる方法について解説します。
動画
コード
▼activity_main.xml
<?xml version="1.0" encoding="utf-8"?>
<androidx.constraintlayout.widget.ConstraintLayout xmlns:android="http://schemas.android.com/apk/res/android"
    xmlns:app="http://schemas.android.com/apk/res-auto"
    xmlns:tools="http://schemas.android.com/tools"
    android:layout_width="match_parent"
    android:layout_height="match_parent"
    tools:context=".MainActivity">


    <Button
        android:id="@+id/btnStart"
        android:layout_width="wrap_content"
        android:layout_height="wrap_content"
        android:text="スタート"
        app:layout_constraintBottom_toBottomOf="parent"
        app:layout_constraintEnd_toEndOf="parent"
        app:layout_constraintStart_toStartOf="parent"
        app:layout_constraintTop_toTopOf="parent" />
</androidx.constraintlayout.widget.ConstraintLayout>
▼MainActivity.kt
package com.example.gamenapp

import android.content.Intent
import androidx.appcompat.app.AppCompatActivity
import android.os.Bundle
import android.widget.Button

class MainActivity : AppCompatActivity() {
    override fun onCreate(savedInstanceState: Bundle?) {
        super.onCreate(savedInstanceState)
        setContentView(R.layout.activity_main)

        //1)Viewの取得
        val btnStart :Button =findViewById(R.id.btnStart)

        //2)ボタンを押したら次の画面へ
        btnStart.setOnClickListener {
            val intent = Intent(this,SecondActivity::class.java)
            startActivity(intent)

        }
    }
}
▼activity_second.xml
<?xml version="1.0" encoding="utf-8"?>
<androidx.constraintlayout.widget.ConstraintLayout xmlns:android="http://schemas.android.com/apk/res/android"
    xmlns:app="http://schemas.android.com/apk/res-auto"
    xmlns:tools="http://schemas.android.com/tools"
    android:layout_width="match_parent"
    android:layout_height="match_parent"
    android:background="#FFEB3B"
    tools:context=".SecondActivity">

    <TextView
        android:id="@+id/textView"
        android:layout_width="wrap_content"
        android:layout_height="wrap_content"
        android:text="ようこそ新しい画面へ"
        android:textSize="24sp"
        app:layout_constraintBottom_toBottomOf="parent"
        app:layout_constraintEnd_toEndOf="parent"
        app:layout_constraintStart_toStartOf="parent"
        app:layout_constraintTop_toTopOf="parent" />

    <Button
        android:id="@+id/btnBack"
        android:layout_width="wrap_content"
        android:layout_height="wrap_content"
        android:text="戻る"
        app:layout_constraintBottom_toBottomOf="parent"
        app:layout_constraintEnd_toEndOf="parent"
        app:layout_constraintStart_toStartOf="parent"
        app:layout_constraintTop_toBottomOf="@+id/textView" />
</androidx.constraintlayout.widget.ConstraintLayout>
▼SecondActivity.kt
package com.example.gamenapp

import androidx.appcompat.app.AppCompatActivity
import android.os.Bundle
import android.widget.Button

class SecondActivity : AppCompatActivity() {
    override fun onCreate(savedInstanceState: Bundle?) {
        super.onCreate(savedInstanceState)
        setContentView(R.layout.activity_second)
        val btnBack :Button = findViewById(R.id.btnBack)

        //3)戻るボタン(アクティビティの終了)
        btnBack.setOnClickListener {
            finish()
        }
    }
}
テキスト解説
kotlinで
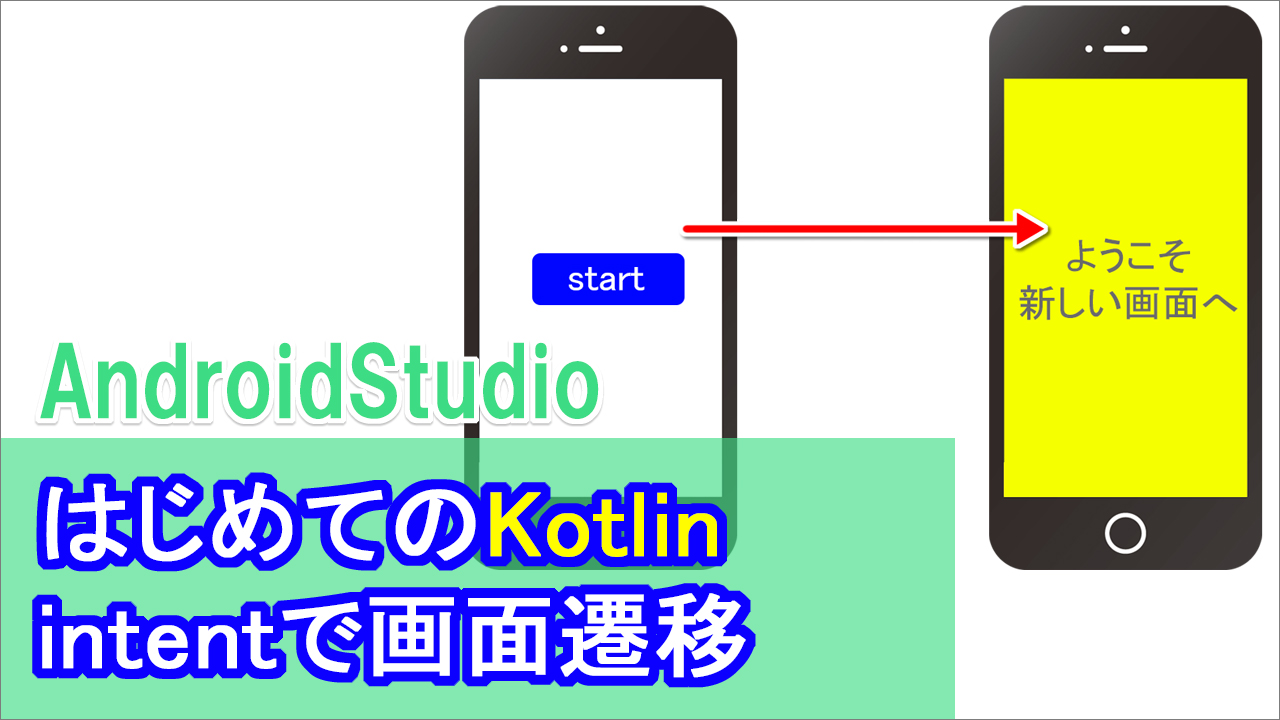
最初のメイン画面から、別の画面へ遷移する方法について解説します。
このように2つのアクティビティ、
つまり画面を用意します。
最初はいつものように、
メインアクティビティが表示されるのですが
スタートボタンを押すと、別の画面が表示される、というものです。
今日の学習のテーマはintentです。
画面遷移の時にはこのintentを使うので是非マスターしてください。
ちなみに、構文はこのようになっています。(一応javaとの比較)
▼java
Intent intent = new Intent(this, 遷移先.class);
▼kotlin
val intent = Intent(this, 遷移先::class.java)
微妙にjavaと違うので気を付けてください
valで宣言してあげて、
Intentと書いてあげて、()の中に、
第一引数:呼び出し元(普通はthis)
第二引数:呼び出し先のクラス名
となっています。
前半:レイアウト(xml)
1)メインアクティビティを作る
それではandroidスタジオを起動して、
まずはメイン画面を作っていきましょう。
今回は画面を表示させるだけのアプリなので
何のひねりもないですが
GamenApp
とかにしておきます。
ここはスタートボタンだけです。
btnStart
2-1)遷移先の画面(Actibity)を作る
それでは、次に、遷移先のアクティビティも用意しましょう。
new⇒Actibvity⇒EmptyActivity
名前は適当に
SecondActivity
とかにしておきます。
これでですね、
今まで見たことあるような
xmlとktがもう1つできました。
こっちの2つがメインの方、
残りの2つが、今作ったセカンドの方ですね。
2-2)セカンド画面を作る
次にセカンド画面に今、何もないので
多少手を加えておきましょう。
パット見、わかりやすいように
背景色を変えてあげましょう。
xmlで背景色を設定する場合は
この検索でbackgroundと入力してください
で、とりあえず目立つようにしたいので
黄色とかにしておきます。
そうすると、backgroundが指定されたので
一目でわかりやすくなりました。
あとは、文字とボタンもせっかくなので表示してみましょう。
文字はTextViewなのでパレットから選択して
位置はお好みで決めてください。
ここでは手っ取り早く、左右中央、上下中央にしておきます。
文字は
「ようこそ新しい画面へ」としておきます。
少し大きくしたいのでsizeで
24spくらいにしておきます。
テキストのidは使いませんので、放っておいてOKです。
-------------------------
あとは、この下に、戻るボタンを設置してこの画面は完成です。
ここももう、手っ取り早く、左右中央、上下中央にしておきます。
テキストは「戻る」
idは適当に、ボタンのバックで
btnBack
とかにしておきましょう。
それではいったん、エミュレータを起動して確認してみましょう。
今は、当然、メインが表示されています。
スタートボタンを押して
セカンド画面が表示されるようにプログラミングしていきましょう。
後半:プログラミング(kt)
1)viewの取得
それでは、プログラミングを書いていきましょう。メインktを開いてください。
まずは、いつものように、viewを取得します。
val btnStart :Button =findViewById(R.id.btnStart)
で、スタートボタンを押した時、というのは
セットオンクリックリスターでしたね。
btnStart.setOnClickListener {
}
はい、これで、ボタンを押した時は、
って言うのができましたので、
ボタンを押したときの処理を書いていきます。
        //2)ボタンを押したら次の画面へ
        btnStart.setOnClickListener {
            val intent = Intent(this,SecondActivity::class.java)
            startActivity(intent)

        }
intentはkotlinではこのように書きます。
val intent = Intent(this,遷移先::class.java)
第1引数は、呼び出し元。
第2引数は、遷移先を指定します。
呼び出し元は、ここの、っていう意味でthis
遷移先は、クラス名に「::class.java」と付けるので覚えておいてください。
それではこれで、
スタートボタンを押したら、
セカンド画面が表示されるようになったので
エミュレータを起動して確認してみましょう。
はい、これで、画面遷移が出来るようになりました。
最後に、戻るボタンで、前の画面に戻るようにしましょう。
**********************************
3)画面遷移のプログラミングを行う
それでは戻るボタンを押したときの処理をしていきましょう。
SecondActivity.ktを開いてください
まずはお決まりではありますがviewを取得します。
//3)viewを取得して、戻るボタンの処理
前の画面に戻るには
finish()
というのを記述するだけです。
とりあえず解説は後にして、
正解だけ書いていきますね。
それではエミュレータを起動して確認してみましょう。
---------------------------------
はい、これでうまくいきました。
で、
finish()
について、画面の仕組みについて説明します。
Intentで、画面が遷移された時、
元の画面の上に重なっていきます。
で、finish()で、
その画面が終了するので、
1つ下の画面が出てくる、という仕組みになっています。
このfinish()っていう概念は
画面遷移では結構重要な意味を持ってくるので、
是非覚えておいてください。
ちなみに余談ですが、
もし3つのアクティビティ画面を用意したとしましょう。
普通に画面遷移させた場合、
3つ目をfinish()した場合、当然2つめの画面が見れてしまいます。
ただし、ゲームのプレイ画面など、
終了したら、最初に戻りたい場合があります。
そういう場合は
2⇒3にintentを記述するときに
finish()も一緒に書いてあげれば
受け渡したと同時にその画面は終了します。
この状態で3をfinish()すると
実は最初の画面が表示される、ということになります。
次回はですね、
何かしら入力してもらって
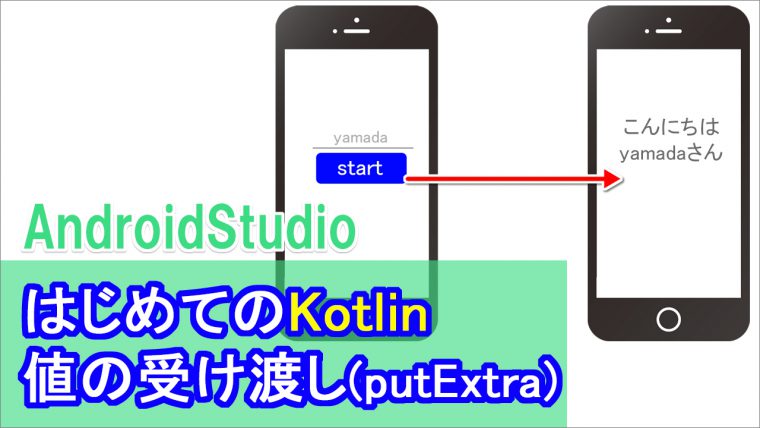
入力された情報を、次の画面に受け渡す方法について解説します。


