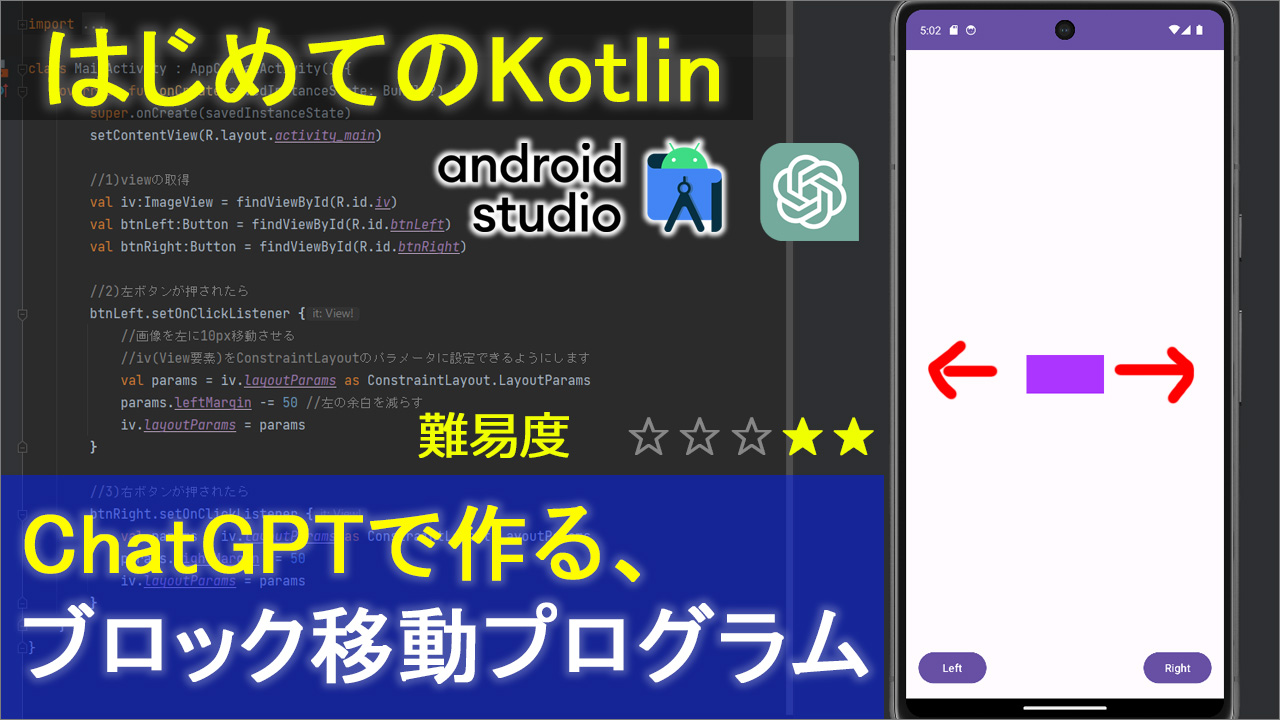
プログラミング言語kotlinで、左右のボタンを押したら、
オブジェクトが左ボタンなら左へ
右ボタンなら右へ移動する、簡単なプログラミングコードを書いていきたいと思います。
で、今回の特徴ですが。今までのように、ただ正解のコードを書いていく、というよりも。
「正解のコードにたどり着く方法」、みたいなところを含めて紹介できたらなと思っております。
実は過去の動画でも、結構質問とかコメントで「どうやって勉強しましたか?」とか
「今回のようなコードを勉強するには、どういう参考書を見ればいいですか?」みたいなのをちょいちょいいただきまして。
で結論から言うと、今までは「検索して雛形のコードを見つけてます」っていうのが答えだったわけなんですけども。
実は最近は、ちょっとずつ事情が変わってきてまして。
検索するというより、AIチャットにわからないことを質問して、ある程度最適解を教えてくれますので。
それを参考にコードを書いていくっていうケースが多いです。
なので、今回もですね、ボタンを押したら、物体を左右に動かしたい。
だけれども、それの書き方がわからないという前提で、ChatGPTに質問しながら、正解にたどり着く、っていうのを実験的にやってみたので紹介したいと思います。
動画
▼動画中に使った画像

コード
▼activity_main.xml
<?xml version="1.0" encoding="utf-8"?>
<androidx.constraintlayout.widget.ConstraintLayout xmlns:android="http://schemas.android.com/apk/res/android"
    xmlns:app="http://schemas.android.com/apk/res-auto"
    xmlns:tools="http://schemas.android.com/tools"
    android:layout_width="match_parent"
    android:layout_height="match_parent"
    tools:context=".MainActivity">


    <ImageView
        android:id="@+id/iv"
        android:layout_width="wrap_content"
        android:layout_height="wrap_content"
        app:layout_constraintBottom_toBottomOf="parent"
        app:layout_constraintEnd_toEndOf="parent"
        app:layout_constraintStart_toStartOf="parent"
        app:layout_constraintTop_toTopOf="parent"
        app:srcCompat="@drawable/block" />

    <Button
        android:id="@+id/btnLeft"
        android:layout_width="wrap_content"
        android:layout_height="wrap_content"
        android:layout_marginStart="16dp"
        android:layout_marginBottom="16dp"
        android:text="Left"
        app:layout_constraintBottom_toBottomOf="parent"
        app:layout_constraintStart_toStartOf="parent" />

    <Button
        android:id="@+id/btnRight"
        android:layout_width="wrap_content"
        android:layout_height="wrap_content"
        android:layout_marginEnd="16dp"
        android:layout_marginBottom="16dp"
        android:text="Right"
        app:layout_constraintBottom_toBottomOf="parent"
        app:layout_constraintEnd_toEndOf="parent" />
</androidx.constraintlayout.widget.ConstraintLayout>
▼MainActivity.kt
package com.example.blockmove

import androidx.appcompat.app.AppCompatActivity
import android.os.Bundle
import android.widget.Button
import android.widget.ImageView
import androidx.constraintlayout.widget.ConstraintLayout

class MainActivity : AppCompatActivity() {
    override fun onCreate(savedInstanceState: Bundle?) {
        super.onCreate(savedInstanceState)
        setContentView(R.layout.activity_main)

        //1)viewの取得
        val iv:ImageView = findViewById(R.id.iv)
        val btnLeft:Button = findViewById(R.id.btnLeft)
        val btnRight:Button = findViewById(R.id.btnRight)

        //2)左ボタンが押されたら
        btnLeft.setOnClickListener {
            //画像を左に50px移動させる
            //iv(View要素)をConstraintLayoutのパラメータに設定できるようにします
            val params = iv.layoutParams as ConstraintLayout.LayoutParams
            params.leftMargin -= 50 //左の余白を減らす
            iv.layoutParams = params
        }

        //3)右ボタンが押されたら
        btnRight.setOnClickListener {
            val params = iv.layoutParams as ConstraintLayout.LayoutParams
            params.rightMargin -= 50
            iv.layoutParams = params
        }
    }
}