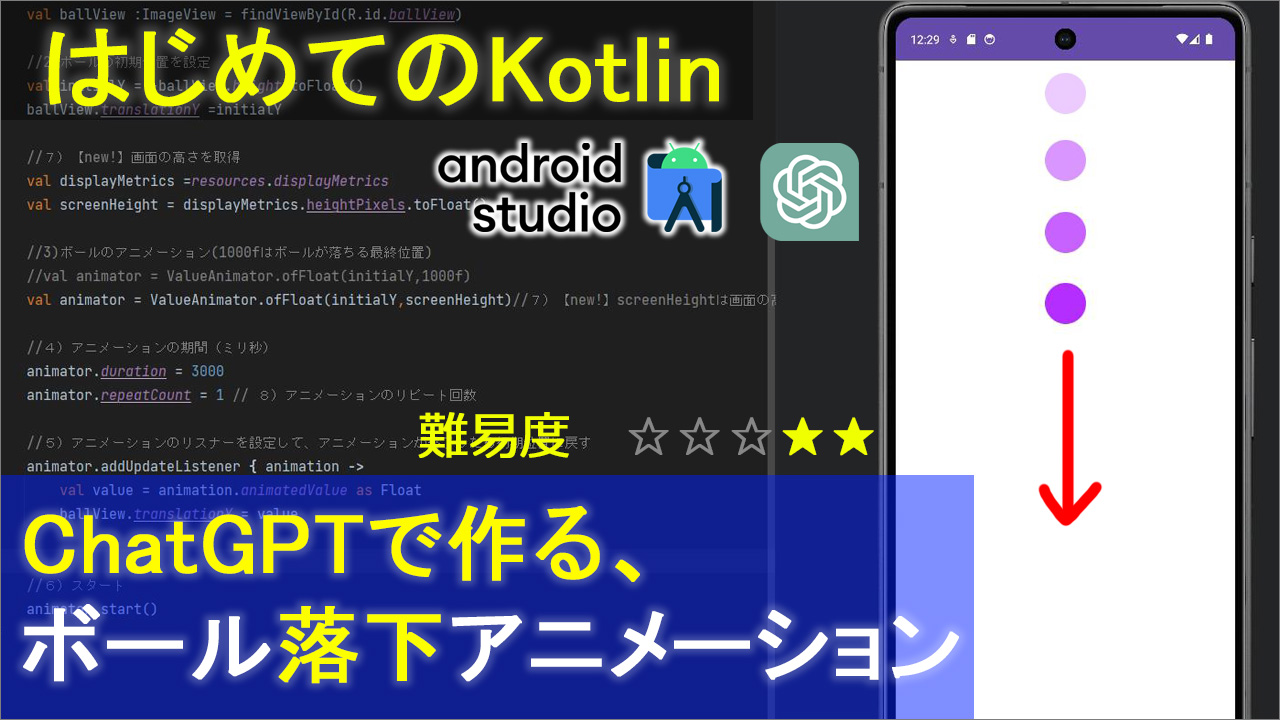
動画
▼動画内で使ったボール画像(ご自由にお使いください)

コード
▼activity_main.xml
<?xml version="1.0" encoding="utf-8"?>
<androidx.constraintlayout.widget.ConstraintLayout xmlns:android="http://schemas.android.com/apk/res/android"
    xmlns:app="http://schemas.android.com/apk/res-auto"
    xmlns:tools="http://schemas.android.com/tools"
    android:layout_width="match_parent"
    android:layout_height="match_parent"
    tools:context=".MainActivity">


    <ImageView
        android:id="@+id/ballView"
        android:layout_width="wrap_content"
        android:layout_height="wrap_content"
        app:layout_constraintEnd_toEndOf="parent"
        app:layout_constraintStart_toStartOf="parent"
        app:layout_constraintTop_toTopOf="parent"
        app:srcCompat="@drawable/ball" />
</androidx.constraintlayout.widget.ConstraintLayout>
▼MainActivity.kt
package com.example.balldown

import android.animation.ValueAnimator
import androidx.appcompat.app.AppCompatActivity
import android.os.Bundle
import android.widget.ImageView

class MainActivity : AppCompatActivity() {
    override fun onCreate(savedInstanceState: Bundle?) {
        super.onCreate(savedInstanceState)
        setContentView(R.layout.activity_main)

        //1)viewの取得
        val ballView :ImageView = findViewById(R.id.ballView)

        //2)ボールの初期位置を設定
        val initialY = -ballView.height.toFloat()
        ballView.translationY =initialY

        //7)【new!】画面の高さを取得
        val displayMetrics =resources.displayMetrics
        val screenHeight = displayMetrics.heightPixels.toFloat()

        //3)ボールのアニメーション(1000fはボールが落ちる最終位置)
        //val animator = ValueAnimator.ofFloat(initialY,1000f)
        val animator = ValueAnimator.ofFloat(initialY,screenHeight)//7)【new!】screenHeightは画面の高さ

        //4)アニメーションの期間(ミリ秒)
        animator.duration = 3000
        animator.repeatCount = 1 // 8)アニメーションのリピート回数

        //5)animator.addUpdateListenerはアニメーションの各フレームで何らかの処理を行いたい場合に使う
        animator.addUpdateListener { animation ->
            //アニメーションの各フレームでビューのY座標位置を設定し、
            //value はボールが画面内でどの位置にあるかを示す浮動小数点数として更新されます。
            // 結果、ボールが滑らかに落下する効果を実現します。
            val value = animation.animatedValue as Float
            ballView.translationY = value
        }

        //6)スタート
        animator.start()
    }
}


